
Packaging field notes
Clearer decisions before custom packaging reaches production.
These guides explain the decisions that shape a custom pack: structure, material behaviour, finish, protection, quantity and approval. They are designed to help brand, procurement and operations teams prepare useful inputs before technical validation and production planning begin.
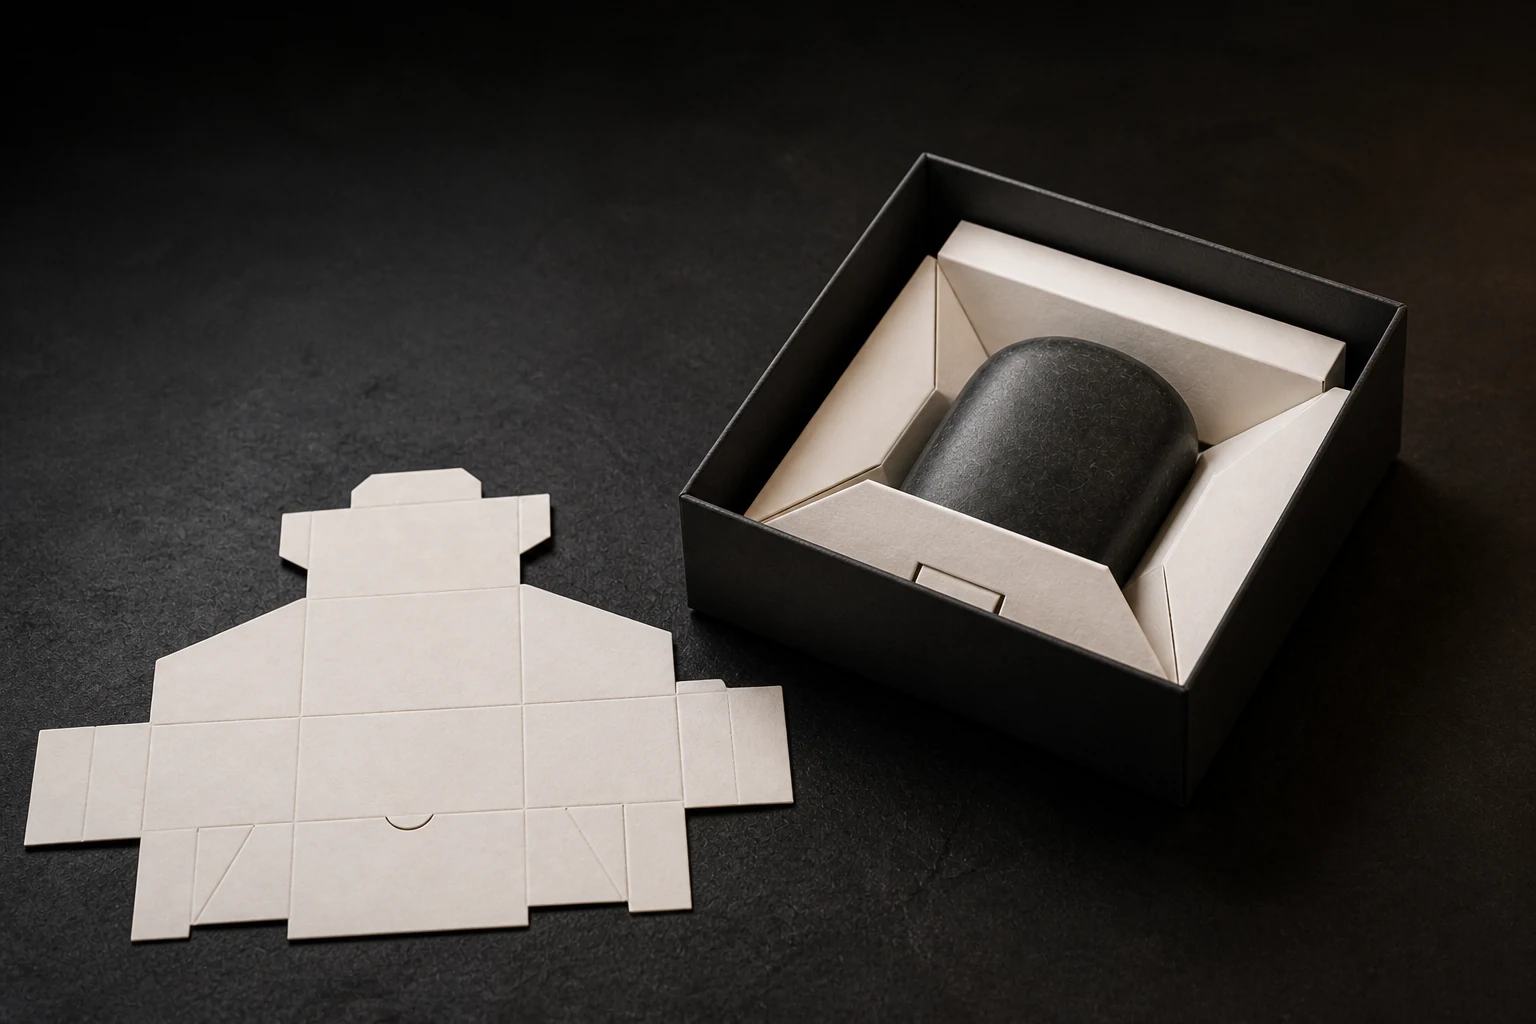
Illustrative direction study — not client work, production proof or performance evidence.
Custom rigid boxes
Understand common constructions, inserts, opening styles and the information needed to evaluate whether a rigid box suits the product.
Read the rigid box guideMaterials and finishes
Separate the structural substrate from the visible wrap and choose finishes for a reason, not from a disconnected sample list.
Explore materials and finishesThe custom packaging brief
Collect the product, channel, quantity, destination and brand inputs that make technical discussion more focused and comparable.
Build a stronger briefChoose where to start
Custom packaging: choose your starting point.
Start with the product or family you want to develop. Use the guide, then speak with a designer or explore your idea in FORM.
Start with the decision the pack must support
A premium appearance is an outcome, not a specification. Begin with the practical job of the pack: protect a fragile object, organise a set, improve shelf recognition, support gifting or simplify fulfilment. That decision narrows the useful structures and prevents decorative choices from working against handling, cost or product protection.
Define first
- Product and intended sales channel
- Primary protection or presentation need
- Who opens, stores and disposes of the pack
- What the current packaging does poorly
Treat structure, material and finish as separate layers
The same visual direction can behave very differently on a folding carton, a wrapped rigid box or a corrugated shipper. Structural board, visible paper, insert and surface treatment should be discussed separately, then recombined as a coherent system. This makes trade-offs legible and keeps comparisons between proposals meaningful.
Review as a system
- Outer structure and opening method
- Visible surface and colour response
- Insert, retention and product contact
- Print and finishing processes

Validate before commercial commitment
A reference image can communicate mood, but it cannot confirm dimensions, tolerances, print behaviour or production feasibility. Those points require drawings, material references and, where appropriate, a sample or prototype. Quantity, price, minimum order and timing remain project-specific until the relevant inputs and production route are checked.
Evidence to request
- Dimensioned dieline or construction drawing
- Named material and finish references
- Approval sample appropriate to the risk
- Written scope, assumptions and exclusions
Use each guide at a different moment
Read the rigid box guide when choosing a construction, the materials guide when refining the visual and tactile language, and the brief guide before asking for a technical evaluation. Together they create a shared vocabulary without pretending that an online article can replace project-specific engineering or supplier documentation.
A practical sequence
- Frame the project with the brief guide
- Shortlist the structural family
- Align materials and finishes with the concept
- Validate the combined specification
Packaging field notes
Questions before you begin
No. They help teams prepare decisions and inputs. A production specification still needs project-specific dimensions, materials, artwork, tolerances, approval criteria and supplier validation.
Your product
A photo, your brand website or a short description.
Proposal and costs
We define the packaging, quantity and quote for your project.
Sample and production
We review the details and sample before starting the production run.